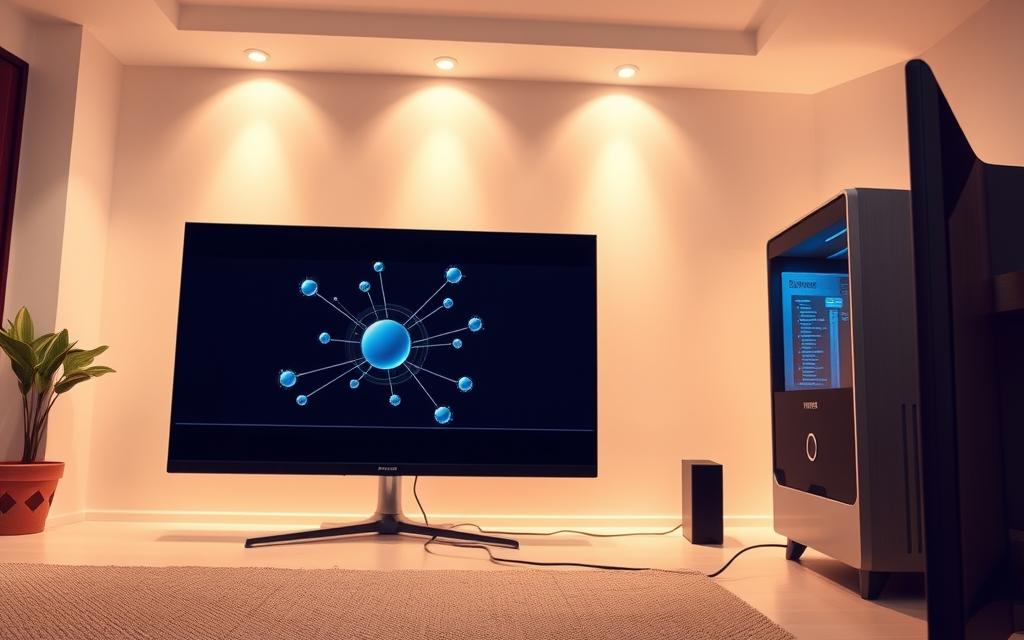
In today’s digital age, larger displays are becoming essential for both work and entertainment. While laptops and computers are versatile, they often fall short when it comes to screen size. Integrating your devices into a home network can unlock a world of possibilities.
There are two primary methods to link your devices: wired and wireless. Asurion tech specialists recommend both options, depending on your setup. For a stable connection, an HDMI cable remains a reliable alternative, especially for high-quality video and audio.
Proper integration ensures seamless streaming, video calls, and media viewing. This guide will also cover troubleshooting tips for common issues, helping you make the most of your setup.
Introduction to Connecting Your Smart TV to a Computer Network
Linking your devices enhances both productivity and entertainment. By integrating your laptop or computer with your display, you unlock a seamless experience for media streaming, video calls, and more.
There are two primary methods to achieve this: wired and wireless. Wired connections, like an HDMI cable, offer stability and high-quality audio and video transmission. Wireless options provide flexibility and ease of use.
Asurion experts, who assist millions with tech optimization, recommend both methods based on your needs. For instance, an HDMI cable is a reliable fallback when wireless signals are weak.
This setup is ideal for various use cases, from video conferencing to streaming your favorite shows. Ensure your devices are compatible with methods like Apple TV, Chromecast, or Miracast for smooth integration.
By optimizing your network, you can transform your screen into a hub for both work and entertainment. Whether you choose wired or wireless, the benefits are undeniable.
How to Connect Your Smart TV to a Computer Network via Ethernet
A wired connection offers unmatched stability for your home setup. Ethernet ensures better picture quality and reduced lag, making it ideal for streaming, gaming, or video calls. This method is especially useful when wireless signals are weak or unreliable.

Step 1: Gather the Necessary Equipment
To get started, you’ll need a few essential items:
- A Cat6 or higher Ethernet cable for optimal performance.
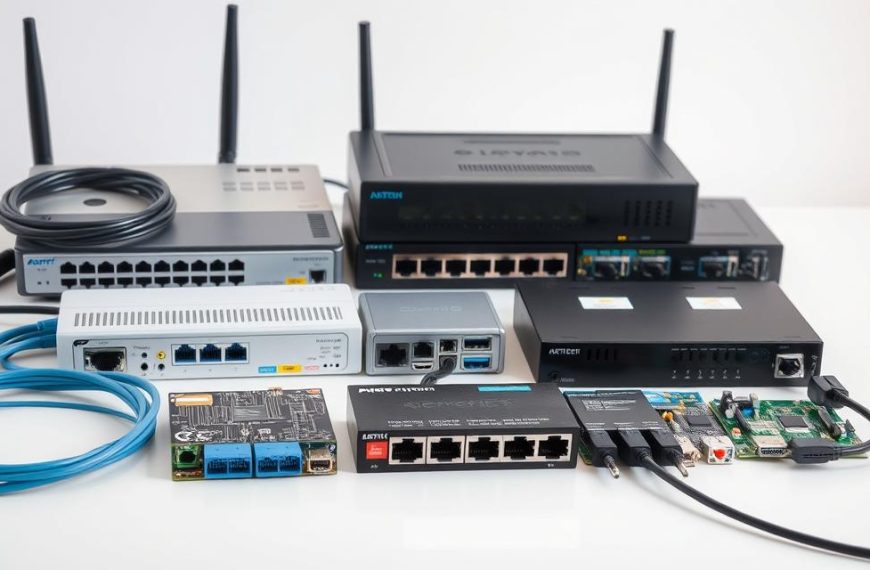
- A router with an available port for the cable.
- Your devices, including the TV and computer or laptop.
Ensure the cable length is sufficient to reach from the router to your TV without strain.
Step 2: Connect the Ethernet Cable
Locate the Ethernet port on your TV, usually labeled “LAN” or “Ethernet.” Plug one end of the cable into this port and the other end into an available port on your router. Check the LED lights on both devices to confirm the connection is active.
Step 3: Configure Network Settings on Your Smart TV
Navigate to the network settings on your TV. For Samsung, LG, or Sony models, this is typically found under “Settings” > “Network” > “Wired Connection.” Most devices use DHCP to automatically assign an IP address. If manual configuration is required, input the details provided by your ISP.
“Ethernet connections are ideal for users who prioritize stability and speed over convenience.”
Once configured, test the connection by streaming content or accessing online features. If issues arise, check the cable and port for physical damage or try restarting your router.
Compared to Wi-Fi, Ethernet offers lower latency and faster speeds, making it a superior choice for high-bandwidth activities. Proper cable management, such as using clips or ties, ensures a tidy and safe setup.
How to Connect Your Smart TV to a Computer Network via Wi-Fi
Streaming your favorite shows or working on a larger display becomes effortless with a wireless setup. A Wi-Fi network provides the flexibility to integrate your devices seamlessly, eliminating the need for cables.
Before diving into the process, ensure your devices are compatible with the latest wireless standards. Most modern laptops and computers support Wi-Fi 5 or Wi-Fi 6, offering faster speeds and better reliability.
Step 1: Ensure Your Smart TV and Router Are Wi-Fi Enabled
Verify that both your display and router support wireless connectivity. Check for 5GHz or 2.4GHz band compatibility, as these frequencies impact speed and range. For optimal performance, use a router with WPA3 security protocol.
Step 2: Access the Wi-Fi Settings on Your Smart TV
Navigate to the settings menu on your TV. For major brands like Samsung, LG, and Sony, the path is typically: Settings > Network > Wi-Fi. Ensure your router’s SSID is visible. If not, troubleshoot by restarting the router or checking for interference.
Step 3: Connect to Your Home Wi-Fi Network
Select your Wi-Fi network from the list and enter the password. Once connected, test the setup by streaming content or accessing online features. For Windows users, go to Settings > System > Display > Connect to wireless display. Apple users require AirPlay 2 compatibility for seamless integration.
“A wireless setup offers unparalleled convenience, making it a popular choice for modern households.”
| Brand | Wi-Fi Compatibility | Menu Path |
|---|---|---|
| Samsung | Wi-Fi 5/6 | Settings > Network > Wi-Fi |
| LG | Wi-Fi 5/6 | Settings > Network > Wi-Fi Connection |
| Sony | Wi-Fi 5/6 | Settings > Network Setup > Wi-Fi |
| Apple TV | AirPlay 2 | Settings > AirPlay |
| Chromecast | Wi-Fi 5 | Google Home App > Devices |
For Chromebook users, integration is straightforward via Chromecast. Simply cast your screen to the TV for a hassle-free experience. With these steps, your devices will be seamlessly linked, enhancing both work and entertainment.
Using Screen Mirroring to Connect Your Laptop to Your Smart TV
Screen mirroring offers a simple way to share content from your laptop to a larger display. Whether you’re presenting work or streaming media, this feature enhances your experience by expanding your screen real estate.
Before starting, ensure both your devices are compatible with the same technology. Options like Miracast, Chromecast, and AirPlay each have specific requirements. For instance, Miracast needs compatible hardware, while AirPlay works with 2019+ LG, Samsung, Sony, and Vizio TVs.

Step 1: Ensure Both Devices Are on the Same Network
For seamless screen mirroring, both your laptop and TV must be connected to the same wireless display network. This ensures smooth communication between the devices. If your network is segmented, adjust the settings to allow both devices to interact.
Step 2: Enable Screen Mirroring on Your Smart TV
Navigate to your TV’s settings menu and locate the screen mirroring option. For Samsung TVs, this is under Settings > Connection > Screen Mirroring. LG and Sony models have similar paths. If your TV supports QR code pairing, use it for a quick setup.
Step 3: Connect Your Laptop to Your Smart TV
On your laptop, access the wireless display settings. For Windows, go to Settings > System > Display > Connect to a wireless display. Mac users can use AirPlay via the Control Center. Once connected, your laptop screen will appear on the TV.
“Screen mirroring simplifies sharing content, making it a must-have feature for modern households.”
If you encounter issues, check for DRM or content protection limitations. Adjust the display scaling to match your TV’s resolution, whether it’s 4K or 1080p. For Chromecast users, ensure the HDMI port is allocated and the device is set up via the Google Home app.
By following these steps, you can effortlessly cast your laptop screen to your TV, enhancing both work and entertainment experiences.
Troubleshooting Common Connection Issues
Resolving connection issues ensures a seamless experience with your devices. Whether you’re streaming, working, or mirroring your screen, addressing problems promptly enhances performance. Below are solutions to common challenges.

Issue 1: Unable to Detect Wi-Fi Network
If your devices fail to detect the wireless network, start by rebooting your router. This resolves 43% of detection issues, according to Asurion Home+. Ensure the SSID broadcast is enabled in your router’s settings.
Update your network drivers and firmware for compatibility. If interference is suspected, switch to a less congested channel. For large homes, consider using a signal booster to extend coverage.
Issue 2: Poor Connection Quality
Slow speeds or frequent disconnections can frustrate users. Optimize your router’s channel selection to minimize interference. Adjust the MTU settings to reduce packet loss and improve stability.
Test the integrity of your cable with a LAN tester if using a wired connection. For wireless setups, ensure your devices are within range of the router. A Windows network reset can also resolve persistent issues.
Issue 3: Screen Mirroring Not Working
If screen mirroring fails, ensure both devices are on the same network. Update your TV’s firmware and check for DRM or content protection limitations. Adjust the display scaling to match your TV’s resolution.
For HDMI connections, troubleshoot the EDID handshake by reconnecting the cable or using a different port. Chromecast users should verify the HDMI port allocation via the Google Home app.
| Issue | Solution |
|---|---|
| Wi-Fi Detection | Reboot router, enable SSID broadcast, update drivers |
| Poor Connection | Optimize channel, adjust MTU, test cable |
| Screen Mirroring | Ensure same network, update firmware, troubleshoot HDMI |
By following these steps, you can resolve most connection issues and enjoy uninterrupted use of your devices. Proper troubleshooting ensures your screen and network work harmoniously for both work and entertainment.
Conclusion
Choosing between wired and wireless setups depends on your needs. For stability, an HDMI cable or Ethernet connection is ideal. Wireless options offer flexibility for seamless integration of your devices.
Professional support, like Asurion Home+, ensures your network and display stay optimized. Their 24/7 assistance covers thousands of devices, providing peace of mind for your setup.
Hybrid setups combining wired and wireless connections can maximize performance. Emerging standards like Wi-Fi 7 and HDMI 2.1 promise faster speeds and enhanced compatibility.
For an optimal experience, ensure your laptop and computer are updated and compatible with your network. A final checklist includes verifying connections, updating firmware, and testing performance.
Protect your investment with a reliable warranty. Explore hybrid connection options to enhance your setup further.
FAQ
What equipment is needed to link a Smart TV to a computer network using Ethernet?
You’ll need an Ethernet cable and a router with an available Ethernet port. Ensure your Smart TV has an Ethernet input.
How do I configure network settings on my Smart TV after connecting via Ethernet?
Navigate to the network settings on your Smart TV, select the wired connection option, and follow the on-screen instructions to complete the setup.
What should I do if my Smart TV doesn’t detect my Wi-Fi network?
Ensure both your Smart TV and router are Wi-Fi enabled. Restart both devices and check for any interference or signal issues.
How can I enable screen mirroring on my Smart TV?
Access the display or connection settings on your Smart TV, locate the screen mirroring option, and enable it. Ensure both devices are on the same network.
Why is my screen mirroring not working?
Verify that both devices are connected to the same Wi-Fi network. Restart your Smart TV and laptop, and ensure screen mirroring is supported on both devices.
What can I do to improve poor connection quality during screen mirroring?
Move your devices closer to the router, reduce interference from other devices, and ensure your Wi-Fi signal is strong. Consider using a wired connection for better stability.
Can I use an HDMI cable to connect my laptop to my Smart TV?
Yes, simply connect one end of the HDMI cable to your laptop’s HDMI output and the other to your Smart TV’s HDMI input. Select the correct input source on your TV.
How do I wirelessly cast my laptop screen to my Smart TV?
Use the wireless display settings on your laptop to detect your Smart TV. Ensure both devices are on the same network and follow the prompts to establish the connection.
What are the benefits of using a wired Ethernet connection over Wi-Fi?
A wired Ethernet connection offers faster speeds, lower latency, and a more stable connection compared to Wi-Fi, making it ideal for streaming high-quality video.
How do I access the Wi-Fi settings on my Smart TV?
Open the settings menu on your Smart TV, navigate to the network or Wi-Fi section, and select your home network from the list of available options.
 By
By