Understanding your PC’s internal components is essential for optimal performance. Specs like the processor, RAM, and storage define your system’s capabilities. Mismatched or outdated hardware can lead to issues, especially with resource-heavy software.
Drivers play a crucial role in keeping your components running smoothly. Regular updates ensure compatibility and efficiency. Tools like Avast Driver Updater simplify this process, helping maintain peak system performance.
Knowing your details is also vital for gaming or creative tasks. For example, video editing on a consumer PC with insufficient hardware can result in frustrating delays. Diagnosing your computer’s specs can prevent such problems and improve troubleshooting.
In the following sections, we’ll explore methods to verify key components like the CPU, GPU, RAM, and storage types. Stay tuned to unlock your system’s full potential.
Why Knowing Your Computer’s Hardware Information is Important
Accurate specs ensure smooth operation and compatibility. Your system’s performance depends on the balance between its components. For instance, insufficient RAM or an outdated CPU can slow down processing speeds, especially during multitasking.
Driver configurations are equally critical. Properly updated drivers optimize hardware functionality. Without them, even high-end components may underperform. Tools like Avast Driver Updater simplify this process, ensuring peak efficiency.
Resource allocation becomes challenging when running multiple applications. For example, video editing software like Adobe Premiere demands more resources than casual gaming. Knowing your specs helps allocate resources effectively.
Upgrading your system can be more cost-effective than replacing it entirely. A simple RAM or storage upgrade often extends the lifespan of your computer. However, compatibility with your operating system must be considered.
Storage type significantly impacts load times. SSDs outperform HDDs in speed and reliability. Here’s a quick comparison:
| Storage Type | Read Speed | Write Speed | Durability |
|---|---|---|---|
| SSD | 550 MB/s | 520 MB/s | High |
| HDD | 120 MB/s | 110 MB/s | Medium |
Overclocking underpowered components can lead to overheating. For example, the AMD HD 7870 struggles with modern games compared to the R7 M360. UserBenchmark data highlights these performance gaps.
Understanding your system’s capabilities ensures compatibility with the latest operating system updates. It also helps identify bottlenecks, allowing for targeted upgrades. This knowledge is essential for both casual users and professionals.
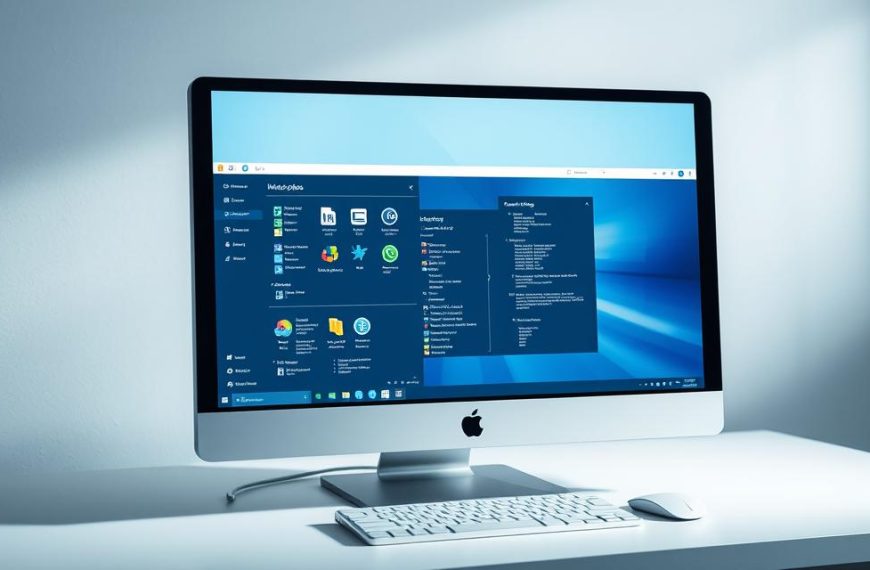
How to Check Your PC Hardware Specifications Using Windows Settings
Windows provides an easy way to access and review your device’s key components. Built-in tools allow you to explore essential details like the processor, RAM, and storage type. This process is simple and doesn’t require advanced technical knowledge.
Step 1: Accessing Windows Settings
Start by clicking the Windows icon in the lower-left corner of your screen. Select the Settings gear to open the menu. Alternatively, right-click the Start button and choose Settings for quicker access.

Step 2: Reviewing Device Specifications
Navigate to System > About to view your device’s details. This page displays critical information like the processor type, installed RAM, and system architecture. Scroll down to find additional data, such as the Windows version and device ID.
For advanced users, the Device Manager offers deeper insights into individual components. However, proceed with caution to avoid unintended changes. To check storage, go to System > Storage > Advanced storage settings.
Understanding whether your system is 32-bit or 64-bit is crucial for compatibility with certain software. This information is also available on the About page. Additionally, tracking your device ID can simplify warranty claims or support requests. For more detailed guidance, visit Avast’s guide on checking PC specs.
How to Find PC Specs Using System Information
Accessing detailed system specs is crucial for troubleshooting and upgrades. The System Information tool provides a comprehensive overview of your device’s configuration. This includes data on components, storage, and the operating system.
Step 1: Launching System Information
You can open the System Information tool in two ways. Use the search bar on the taskbar and type “msinfo32.exe.” Alternatively, press Windows + R, enter “msinfo32,” and hit Enter. Both methods lead to the same detailed system summary.
Step 2: Navigating the System Summary
The left pane of the System Information window organizes data into categories. Expand Components to view details about your storage, disks, and other hardware. The System Summary section provides an overview of your device’s model, manufacturer, and BIOS version.
For advanced users, identifying the motherboard or chipset is straightforward. Navigate to Components > Motherboard for this data. Additionally, the tool allows you to check whether your system uses UEFI or Legacy BIOS.
Here’s a quick comparison of storage types identified in the tool:
| Storage Type | Read Speed | Write Speed |
|---|---|---|
| SSD | 550 MB/s | 520 MB/s |
| HDD | 120 MB/s | 110 MB/s |
You can also export the system summary for future reference. Click File > Export to save the report. This feature is particularly useful for sharing details with support teams or for personal records.
How to Check PC Specs Using PowerShell and Command Prompt
PowerShell and Command Prompt offer advanced methods to retrieve detailed system data. These command-line tools provide precise insights into your device’s configuration. Whether you’re troubleshooting or planning upgrades, these utilities simplify the process.

Step 1: Opening PowerShell or Command Prompt
To begin, open PowerShell or Command Prompt with administrative privileges. Right-click the Start button and select Windows PowerShell (Admin) or Command Prompt (Admin). Admin access ensures you can retrieve all necessary details without restrictions.
Step 2: Running the Systeminfo Command
Type systeminfo and press Enter. This command generates a comprehensive list of your system’s specifications. The output includes details like the operating system version, installed updates, and network adapter configurations.
Here’s a comparison of command-line tools versus GUI-based methods:
| Method | Details Provided | Ease of Use |
|---|---|---|
| Command-Line | Comprehensive, including hotfixes and BIOS version | Advanced |
| GUI | Basic, limited to processor and RAM | Beginner-friendly |
For further analysis, save the output to a text file. Use the command systeminfo > specs.txt. This file can be shared with support teams or used for personal records.
Command-line tools also verify memory module slot population and domain/workgroup membership. These details are crucial for troubleshooting and upgrades. By mastering these tools, you gain deeper control over your system’s performance.
How to Find PC Specs Using DxDiag
The DirectX Diagnostic Tool is a powerful utility for uncovering detailed system specs. It provides insights into your device’s components, including the display and video settings. This tool is especially useful for troubleshooting and verifying driver configurations.

Step 1: Launching the DirectX Diagnostic Tool
To open the DirectX Diagnostic Tool, press Windows + R and type “dxdiag.exe” in the Run dialog box. Hit Enter, and the tool will load, displaying a summary of your system’s details. This process is quick and requires no advanced technical knowledge.
Step 2: Reviewing the DxDiag Tabs
The tool organizes data into several tabs, each focusing on specific components. The Display tab shows information about your GPU, including the manufacturer and model. It also reports the current screen resolution and refresh rate, which are crucial for gaming and multimedia tasks.
The Sound tab provides details about your audio devices, helping identify issues with drivers or configurations. For multi-monitor setups, the tool displays data for each connected screen, ensuring proper alignment and functionality.
Here’s a quick overview of the key tabs and their uses:
- System: Overview of your device’s details, including the operating system and BIOS version.
- Display: GPU specifications, driver version, and screen settings.
- Sound: Audio device configurations and driver status.
- Input: Information about connected peripherals like keyboards and mice.
For advanced users, the tool also reports the DirectX feature level and WHQL certification status. These details are essential for ensuring compatibility with the latest software and games. You can export the diagnostic report for future reference by clicking the Save All Information button.
Conclusion
Understanding your system’s capabilities is vital for optimal performance. Whether you’re troubleshooting or planning upgrades, knowing your specs ensures compatibility and efficiency. Tools like Avast Driver Updater simplify driver maintenance, keeping your components running smoothly.
Regularly monitoring storage, RAM, and processor details helps identify bottlenecks. This proactive approach allows for targeted upgrades, extending your device’s lifespan. Always back up data before making changes to avoid potential loss.
For advanced users, command-line utilities like PowerShell provide deeper insights. Meanwhile, built-in tools like System Information and DxDiag offer beginner-friendly options. Each method serves a unique purpose, catering to different needs.
For more detailed guidance, visit this resource. Stay informed, and keep your system optimized for peak performance.
FAQ
Why is it important to check hardware specifications?
Understanding your device’s components, such as RAM, processor, and storage, ensures compatibility with software, games, and updates. It also helps troubleshoot performance issues and plan upgrades.
Where can I find device specifications in Windows?
Navigate to Settings > System > About to view details like the operating system version, processor, and installed memory. This section provides a quick overview of your system.
How do I use the System Information tool?
Press Windows + R, type msinfo32, and hit Enter. The System Summary tab displays detailed data about your hardware, software, and system components.
Can I check specs using Command Prompt or PowerShell?
Yes. Open Command Prompt or PowerShell, type systeminfo, and press Enter. This command lists details like the OS version, manufacturer, and installed memory.
What is the DirectX Diagnostic Tool used for?
The DxDiag tool provides information about your display, sound, and input devices. Launch it by typing dxdiag in the Run dialog box and reviewing the tabs for specific details.
How do I identify my processor and RAM details?
Use the System Information tool or check the Device Specifications section in Windows Settings. Both methods display the processor model and the amount of installed RAM.
Where can I find my computer’s model and manufacturer?
The System Summary in the System Information tool or the About section in Windows Settings lists the device’s model and manufacturer name.

 By
By